Separating Prep-Plane Illumination from Ambient Ceiling Grids
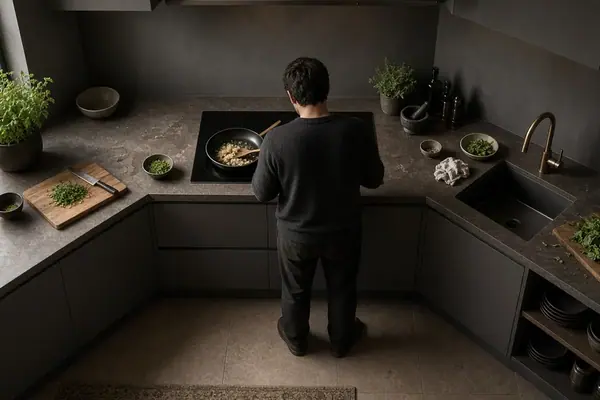
Architectural kitchen task lighting delivers localized, shadow-free illumination onto food preparation surfaces, operating independently from the room's general ambient glow. Standard European and Scandinavian base cabinets project 600mm from the structural wall, extending to 650mm when concealing plumbing chases. Upper wall cabinets sit above them at a depth of 350mm to 370mm. When ceiling downlights are recessed more than 750mm from the wall face, the light source sits directly behind the head and shoulders of a standing cook. That geometry casts a dense torso shadow across the front 300mm knife-work zone right where blade control happens.
Fixing this geometry starts during the first-fix electrical schematic phase. Horizontal worktop planes require task illuminance targets between 500 and 750 lux for safe slicing and ingredient inspection, whereas surrounding floor circulation needs only 150 to 200 lux. Relying on a single switched loop forces you to over-light the floor just to see the chopping board.
We isolate the 24V DC constant-voltage drivers for cabinet joinery from the mains-voltage ambient ceiling circuits. Putting under-cabinet luminaires on dedicated, dimmable circuits allows high-output illumination during heavy prep work and low-glare background glow once dining begins.
Routing Channels at the Cabinet Front Lip to Clear Dining Sightlines
Where you cut the aluminium profile into the cabinet underside dictates how light hits both the counter and the eye. During joinery detailing, specifiers sometimes consider routing the LED channel 50mm out from the rear splashback to simplify cable concealment behind the cabinet back panel. We drop that approach on site because rear-wall channel placement grazes vertical splashback grout lines while leaving the front 300mm knife-work zone in torso shadow. Pushing the light source against the wall also creates harsh specular hotspots on vertical stone or tile junctions.
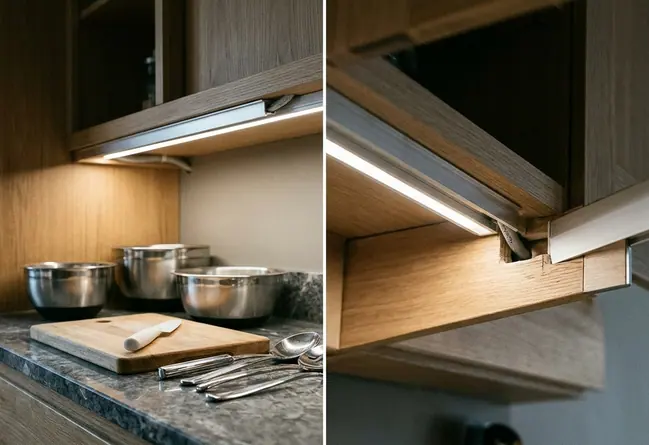
Front-edge mounting solves the distribution problem. For a standard 350mm-deep upper cabinet mounted 500mm to 550mm above the worktop, placing the luminaire centreline within 35mm to 50mm of the front door face spreads light evenly across the leading third of the counter. Note that front-edge carcass routing cannot be executed on cabinets fitted with push-to-open mechanical latches or heavy pantographic lift hardware that occupy the leading 60mm of the underside base panel.
Once the channel sits near the front edge, sightline protection becomes the primary concern in open-plan rooms. A cook standing at the counter looks downward, but guests at an adjacent table view the underside of the wall units at a shallow upward angle. Adding an asymmetric extrusion profile or a 12mm-deep recessed pelmet lip shields the glowing lens from a seated dining eye level of 1150mm to 1250mm above finished floor level.
Tuning Spectral Rendering for Pale Nordic Timber, Steel, and Stone
Raw worktop materials shift drastically under poor spectral power distribution. Before locking in LED bin codes, I evaluate sample boards of white-pigmented oak, orbital-brushed stainless steel, and honed limestone under tuneable luminaires. You need an accurate reading of food freshness—specifically distinguishing the deep reds of raw meat and the crisp tones of dark leafy greens—Alongside the subtle grain of natural joinery. Specify LED tape with a minimum Colour Rendering Index (CRI Ra) of 95 and a saturated red rendering value (R9) exceeding 90, paired with 2-step MacAdam ellipse binning to prevent visible colour shifts along continuous runs. For deeper technical context on how spectral metrics prevent distortion, review the solid-state lighting colour rendering guidelines from the U.S. Department of Energy.
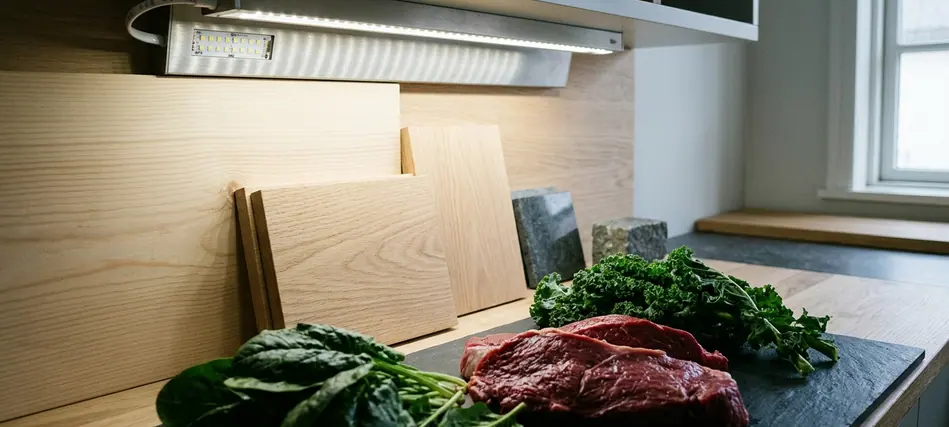
Correlated Colour Temperature (CCT) dictates how Scandinavian surfaces interact. A range of 2700K to 3000K preserves the warm honey and chalk undertones in soap-treated ash and white-oiled oak. Pushing the specification to 4000K shifts those pale Nordic timbers toward a muddy grey-green and makes adjacent cold-rolled steel feel clinical.
Chromium Oxide Glare Control
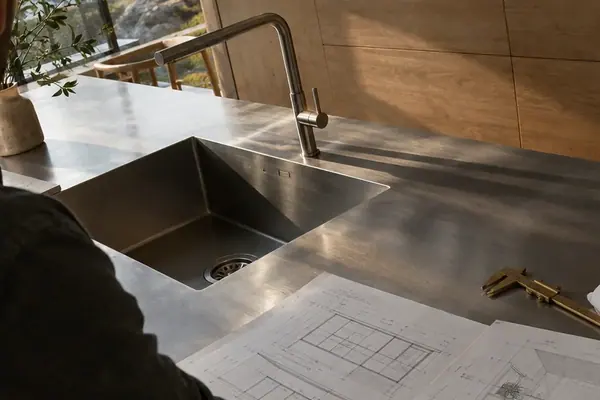
Stainless steel owes its corrosion resistance to a microscopic passive layer of chromium oxide on the alloy surface, which creates a highly reflective metallic sheen. Specular diode dot reflections off polished stone and orbital-brushed stainless steel occur whenever SMD strips below 180 LEDs per metre lack a 15mm-deep frosted diffuser. Pair high-density Chip-on-Board (COB) strips or SMD arrays of 180 to 240 diodes per linear metre with a 15mm-deep frosted polycarbonate opal diffuser to blend individual points into a continuous sheet of light.
On-Site Night Mock-Up Across a Steel and Limestone Worktop Run
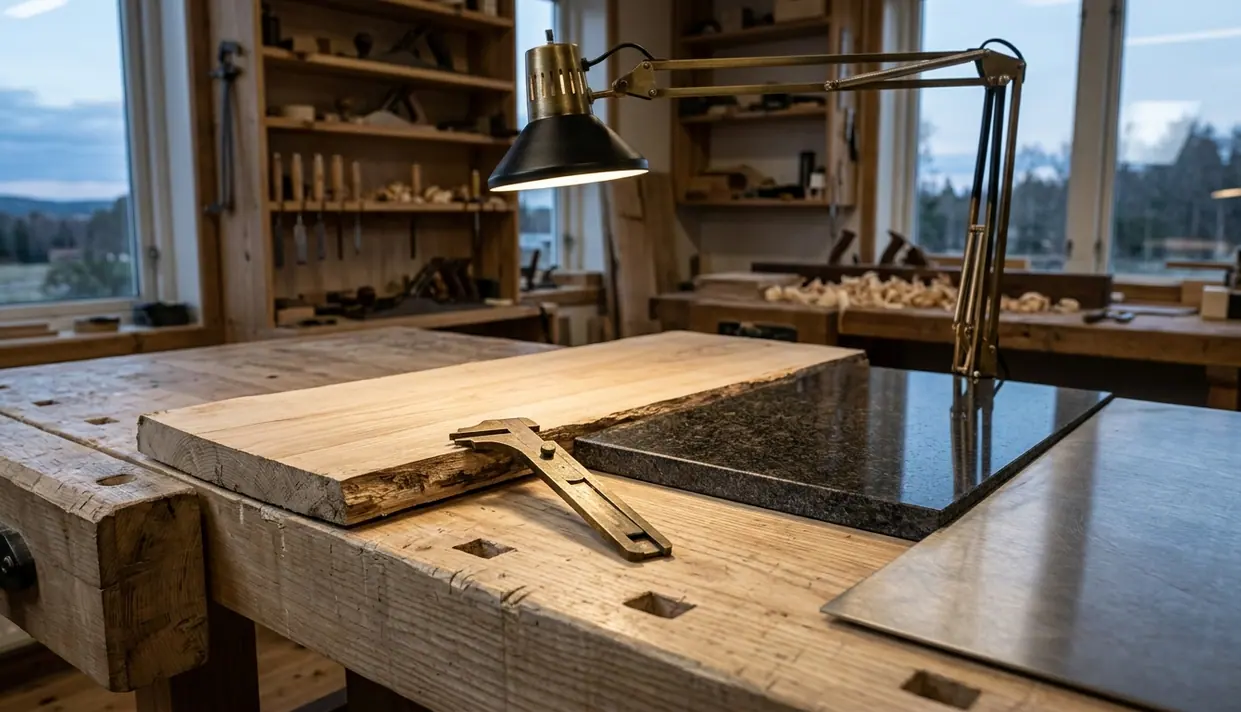
Before your cabinetmaker routes permanent 16mm-wide housing grooves into the veneered undersides of the wall units, run a physical mock-up on site across the actual installed surfaces. Take a dual-surface kitchen run that pairs a 4mm solid brushed stainless steel wet bench with a honed limestone prep slab below pale timber upper cabinetry.
- Isolate the room after dark: Schedule the site test 45 to 60 minutes after civil twilight. Flip the breakers on all decorative pendants and architectural downlights so no ambient spill contaminates the worktop plane.
- Tape energized samples across the material joint: Prepare two 500mm sample extrusions—one loaded with 2700K tape and one with 3000K tape, each driven at 10W to 14W per metre. Use low-tack painter's tape to fix them along the underside of the upper cabinet, spanning the transition joint between the stainless steel wet zone and the honed limestone slab. Test them first at the rear wall junction to observe the splashback grazing, then move them to the 35mm to 50mm front-lip zone.
- Audit standing and seated sightlines: Stand at the prep zone (eye height 1600mm to 1750mm) and inspect the steel and stone for specular bounce and uniform illuminance across the front 300mm edge. Next, sit at the adjacent dining table (eye height 1200mm) to verify that thecabinet lip or extrusion profile hides the illuminated diffuser completely before signing off on the joinery shop drawings.