The Starting Point: A Cramped Urban Reality
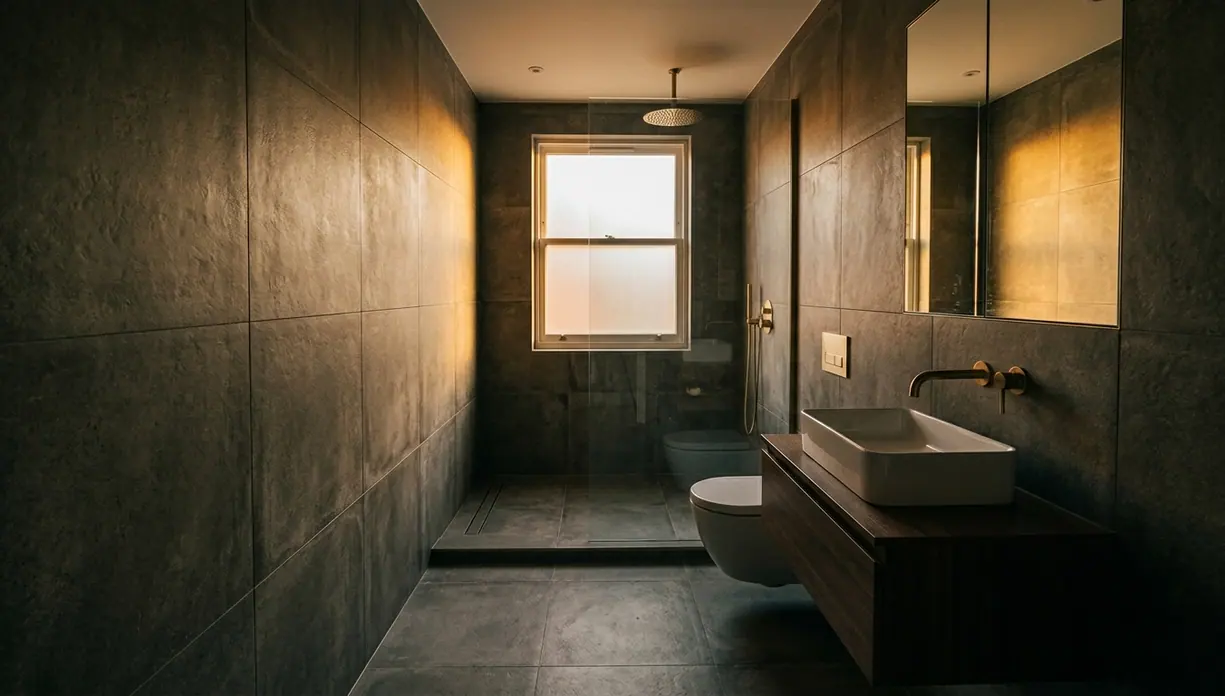
I stood in the dimly lit, 4-square-meter city apartment bathroom, mapping the visual interruptions. A bulky, 120mm raised acrylic shower tray dominated the floor plan. Exposed plumbing stacks fought for the remaining space. Fragmented floor materials and protruding fixtures compressed the room, making it feel intensely claustrophobic. The objective was clear—we needed to apply Scandinavian design principles to strip away this visual noise and engineer a continuous, monolithic wet room. Eliminating the step-up of the acrylic tray establishes a single, unbroken datum line across the entire footprint.
The Challenge: Spatial Constraints and Visual Clutter
Traditional bathroom layouts fracture compact urban environments. They break up the floor plan and interrupt the line of sight with arbitrary thresholds. Converting a standard bathroom into a wet room introduces severe technical hurdles, specifically achieving the necessary floor gradients for drainage without raising the floor level.
Engineers mapped the subfloor architecture to determine routing paths between immovable structural walls. The existing 145mm shallow floor joists presented a strict boundary. A joist direction running perpendicular to the required drain run complicates the trap accommodation, forcing a complete recalculation of the waste pipe routing to maintain gravity flow.
Material Science: Selecting for Continuity and Performance
The specification team evaluated surface materials for both continuity and water management. We initially considered poured microcement for a seamless look, but rejected it because the building's natural movement would inevitably cause micro-cracking. Instead, we selected 600x1200mm matte porcelain tiles with an R11 slip resistance rating.
The physics of water management in tight spaces dictates that a continuous structural waterproofing membrane, or tanking, is non-negotiable. Relying on standard cementitious grout invites capillary action failures in poorly tanked corners, where structural shifts create microscopic fissures. Epoxy grouts prevent moisture penetration and maintain a pristine, monolithic appearance over time. Adhering to strict moisture management principles in enclosed spaces ensures the assembly remains watertight under thermal expansion.
The Solution: Flush Drainage and Frameless Screening
A 1:50 (2%) single-plane floor slope dictates the entire spatial geometry. Installers positioned the brushed stainless steel linear drain flush against the rear wall. The passive chromium oxide layer on this steel grade guarantees long-term corrosion resistance against harsh cleaning agents.

Calculating the subfloor modifications required to house the trap within the shallow void while maintaining that exact slope requires absolute precision. We integrated a floor-to-ceiling frameless glass screen to eliminate visible hardware. Recessing the glass directly into a 12mm ceiling channel and a corresponding floor track renders the barrier nearly invisible.
Architectural Fixtures and Concealed Storage
Building out a 110mm deep false studwork wall consumes precious floor space initially, but it reclaims visual volume by concealing the plumbing infrastructure. The architectural team designed this false wall specifically to house the concealed cistern for the wall-hung toilet and the thermostatic shower valves.
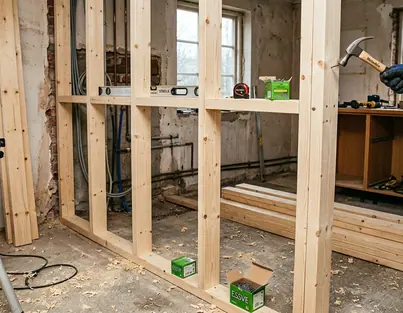
We strategically carved out illuminated niches within these studwork voids to eliminate the need for protruding storage racks. Keeping the main surfaces entirely free of clutter reinforces the monolithic aesthetic. Minimalist, architectural brassware mounted directly into the wall completes the assembly. The PVD-coated brushed brass fixtures offer exceptional durability against daily wear.
Results, Metrics, and Installation Constraints
Project managers strictly sequenced the trades to manage the acoustic and structural layers. Installers laid acoustic matting beneath the screed to mitigate the sound transmission inherent to a fully tiled wet room. The screed required a strict 3 to 4 day curing window before waterproofers could apply the continuous tanking membrane, followed finally by the tile installation.
The qualitative results include a significant increase in natural light flow, a dramatic reduction in visual weight, and a streamlined maintenance routine. One catch—achieving a truly flush wet room depends entirely on existing slab thickness and joist direction. Properties with structural concrete slabs less than 150mm thick will inevitably require a raised floor section to accommodate the drain trap.
Compact Wet Room Infrastructure Checklist
- Verify joist depth and direction for trap accommodation
- Install acoustic matting beneath screed layer
- Apply continuous structural waterproofing membrane (tanking)
- Recess ceiling and floor channels for frameless glass
Prioritizing Infrastructure Over Aesthetics
When budget or space is constrained, always prioritize the unseen drainage and waterproofing infrastructure over high-end surface finishes. A perfectly sloped, watertight floor finished with mid-range tiles will always outperform luxury marble laid over compromised plumbing. Before selecting a single tile, confirm your slab thickness and joist direction—those two measurements decide whether a flush wet room is even possible in your footprint.